
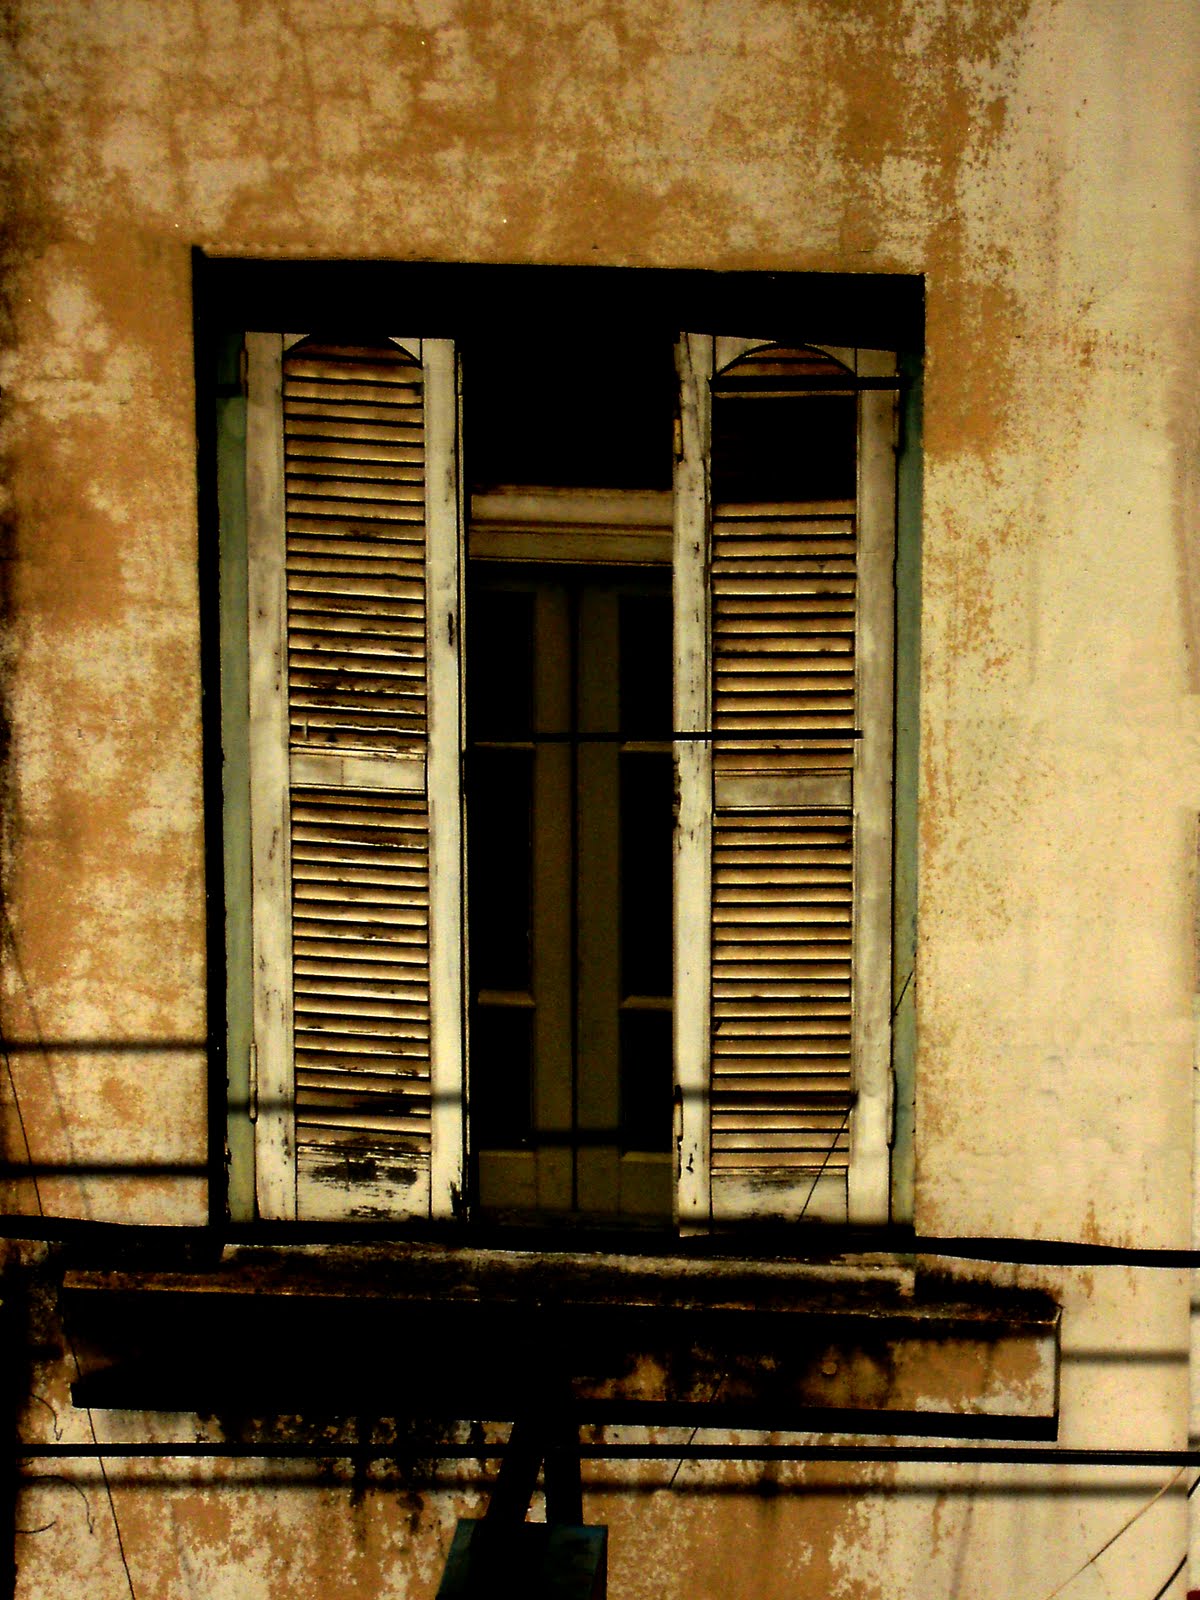
In this topic I would like to stress out how important it is to see a potentially good looking photo despite all obstacles. For example this old window was taken in Asuncion, Paraguay from my hotel room and there was no way to get around the cables that were hanging in front of the window as a foreground. Originally this photo was worst than it looked now because I did not save it in a different name and it was already edited half way done when I realized it but there are still some cables and details I still have to edit so it´s still a good example to make my point.
In order to edit this photo I used Photoshop CS4.
1. Converting color photo to black and white
There are many ways to convert photos to black & white in photoshop. The easiest way is to directly go to image --> Adjustments --> Black & White or image --> adjustments --> Hue / Saturation (drag behind saturation to -100). I personally would avoid doing those ways because it loses the quality of my photos and if one day someone would buy it or I might need a big resolution to make a poster it requires a high resolution quality. So my suggestion is to use layers and channels which can be found on your left bottom part of your photoshop. In the channel, you will see 4 channels of your photo. The first is RGB (Red Greed Blue)which is your original photo in color, the second is Red, third Green and fourth Blue which are your black and white photos with the effect of what color filters do to your black and white. (Please refer to my older posts about color filters for black and white photography). Choose one out of the 3 black and white photos you prefer and you may also enhance to make it brighter or darker by adjusting the levels tool.

2. Making the cables and shadows disappear.
I used the healing brush tool. Now this is a very simple yet a very powerful tool, you just need to be patient while doing this especially if you are not use to it yet. Basically this tool replaces or dissolves the cables that you want to get rid off bits by bits and you really need to be precise and careful not to make it too obvious. At times you might need to zoom in to see and edit smaller details like edges or corners.
3. Creating Textures.
If you pay attention to the right wall of the original photo, the humid stain is not quite the same as on the left wall. Using the clone stamp tool you can click on a wall with more humid stain and start stamping it on your empty wall. To make it easier, the meaning of the clone stamp tool is exactly what it says. First you need to click on a spot you want to clone and second you stamp what you just cloned to a new place. To not make the clone and stamp obvious you might want to clone on different parts of the wall and stamp it over your previous stamp to make it more look like a realistic humid stain so you have different patterns of stain on your left wall from your right wall.
Please email or leave me a comment if you have any questions and I would be really happy to help and workshop with you. If you have "teamviewer" workshops can be a lot more easier and effective.
Is this cheating? Well, that´s up to you to decide what cheating is.
For me, I like to be creative and I like challenges, editing in Photoshop is a perfect place for both creative and facing challenges. The outcome is knowledge how to edit a photo and an amazing photo that can make you cheerful.
"There is one thing one has to have: either a soul cheerful by nature, or a soul made cheerful by work, love, art and knowledge." -Friedrich Nietzsche-


This is brilliant! Well done and thanks for the photo editing tips.
ReplyDeleteJeanne :)
Me gustan las dos, pero creo que me quedo con la B&N.
ReplyDeleteJeanne - I´m really glad you found the tips helpful, thanks for stopping by!
ReplyDeleteBarbara - Thank you!
Anada - Menos mal que elegiste la B&N :)
Thanks you guys for taking the time to comment!
Cheers,
Rendy Loudewijk
The layering is fantastic in your photo. I've found that wonderful color images (that in my mind would be even more extraordinary in black and white) lose any kind of richness of depth/luster. I'm going to be trying some of your suggestions with actual people. I do love the richness of the skin in some Herb Ritts or perhaps Tony Duran photography and am looking forward to creating that myself. Thank you kindly.
ReplyDelete